세련된 문자만들기


작성자 : 액션쟁이
등록날짜 : 2008.12.31 09:48
2,302

| Step 1.) Begin by open an existing or new document in photoshop of any size. I will be working with a 400x400 document for this tutorial. I have also filled the background color with black (#000000); however you can choose any color you wish. |
 |
| Step 2.) Go ahead and select the Text Tool (  ) and select the font, and text size that you would like to use for this effect. ) and select the font, and text size that you would like to use for this effect.I am using a font called Bauhaus Md BT which you can download freely here. (Free registration required) Here are the exact settings l've used: The font color used here is: #0048A9  Note: To add a nice effect try alternating the text size making every other character slightly larger or smaller in size.  |
|
| Step 3.) Hold down the CTRL key and click on the layer thumbnail to create a selection of its contents. Go to Select->Modify->Contract with a setting of 2 pixels:   Press 'M' on your keyboard to select the Marquee tool, and move the select down a few pixels by tapping the DOWN ARROW on your keyboard two or three times: Press CTRL + ALT + SHIFT + N on your keyboard to create a new layer. Set your foreground color to white (#FFFFFF) and your background color to black (#000000). Get out the Gradient Fill Tool () and set it up as l have done here:    Fill your selection with a black to white linear gradient as l have done here:  Change the Blending Mode of this layer to "Screen":  Result:  Note: Do not de-select the selection. |
|
| Step 4.) Go to Select->Modify->Contract and contract the selection by 2 pixels as we did before: Press 'M' on your keyboard to get out the Marquee Tool. Now move the selection up a few pixels by tapping the UP ARROW on your keyboard.  Press CTRL + ALT + SHIFT + N on your keyboard to create a new layer. This time apply a black to white gradient using the Gradient Tool () as l have done here:  Press CTRL + D on your keyboard to de-select the selection. Change the Blending Mode of this layer to "Overlay":  Result:  |
|
| Step 5.) Press CTRL + E on your keyboard 2 times. Doing so will merge all three of these layers together. Double click this layer and apply the following blending options: Bevel & Emboss:  Pattern Overlay:  Result:  |
|
| Step 6.) Press CTRL + J on your keyboard to duplicate this layer. Go to Image->Adjustments->Invert (or press CTRL + i) to invert the colors. Result:  Change the Blending Mode of this layer to "Exclusion":  Result:  |
|
| Step 7.) Press CTRL + J on your keyboard to duplicate this layer. Change the Blending Mode of this layer to "Screen": Result:  |
|
| Step 8.) Press CTRL + E on your keyboard 2 times to merge these three layers together. Double click this layer, and apply the following blending options: Satin: Color used here is #19B6FD  Stroke:  Result:  |
|
| Step 9.) Press CTRL + J on your keyboard to duplicate this layer. Go to Filter->Artistic->Underpainting and apply the following settings:  Go to Image->Adjustments->Invert (or press CTRL + i) to invert the colors:  Change the Blending Mode of this layer to "Overlay": Final result: |
[출처] 웹디황용
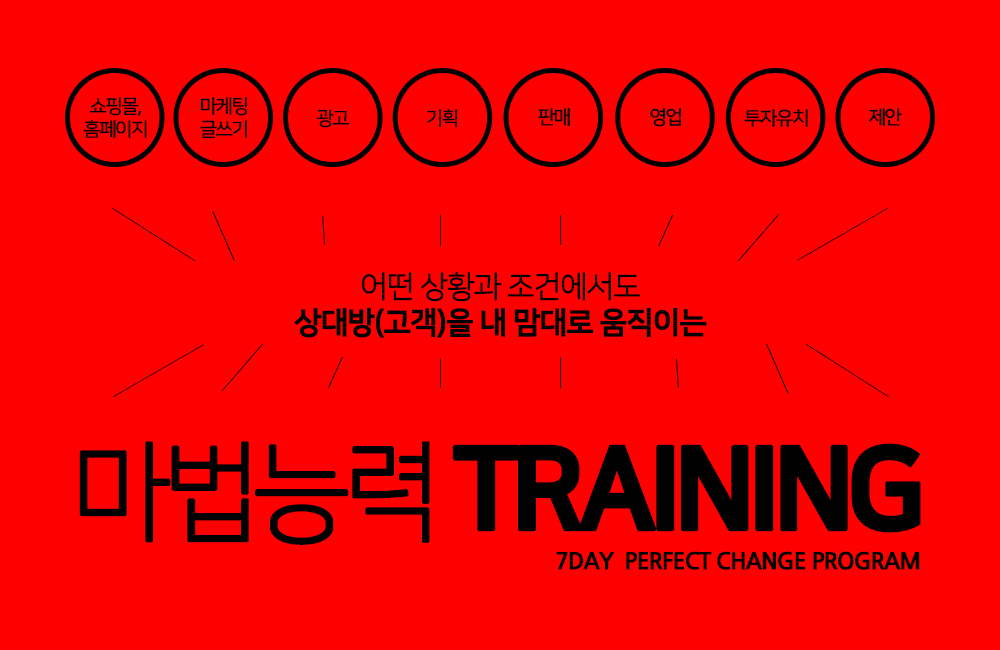
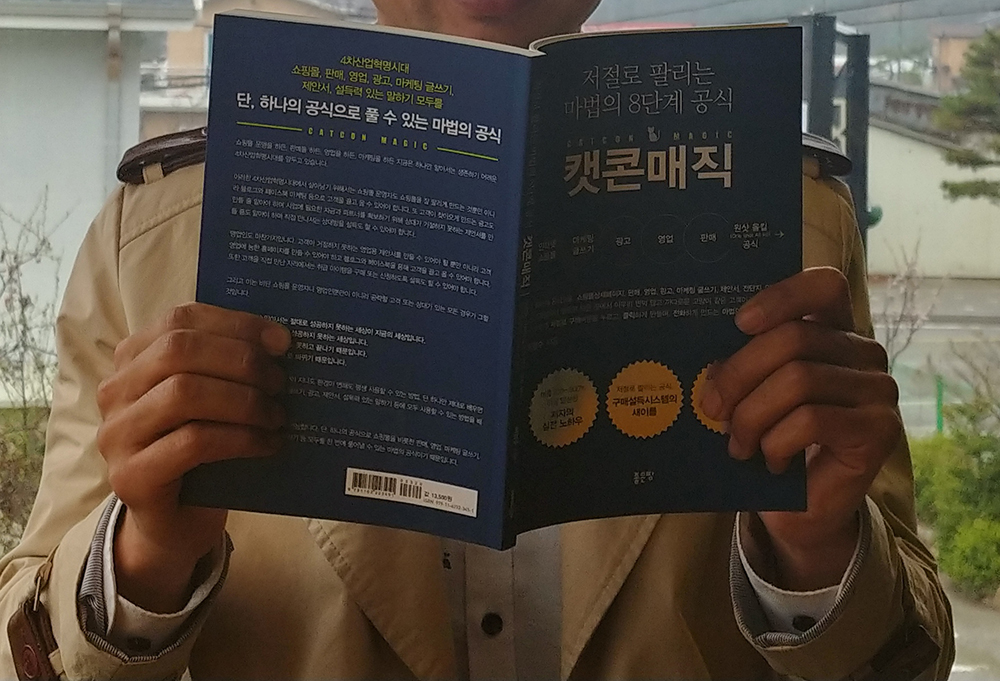
"쇼핑몰·홈페이지·오픈마켓
블로그·페이스북·이메일 등의 각종 마케팅 글쓰기, 각종 광고, 영업, 판매, 제안서, 전단지 반응율 3배×10배 이상 높이는 마법의 8단계 공식" |
|
| ☞자세히보기 |
|
|
|