아쿠아 버튼


작성자 : 액션쟁이
등록날짜 : 2008.12.31 09:45
2,061
| Step 1.) Start a new document that is 300 x 300 in size, and fill the background with the following gradient: The colors used are: #84AAD9 and #A4BFEA  |
 |
| Step 2.) Next create a new layer, and make a a selection like pictured bellow:  and fill this selection with #FFFFFF (white)  next set the opacity of this layer down to 31 percent, go up to "filter->blur->Gaussian Blur" with a setting of 2 pixels  here's what you should have |
|
| Step 3.) Create a new layer, get out the elliptical marquee tool hold down the SHIFT key (to make a perfect circle) and make a selection like this in the center of the canvas:  Fill this selection with #5B87CE DO NO DESELECT  |
|
| Step 4.) Create a new layer. Set your foreground color to white (#FFFFFF) Get out your brush, with these settings:  now color in the bottom portion of the selection like so:  It doesn't have to be perfect, just similar to what l've got. Now go to "filter->blur->motion blur", and apply these settings:  Here's what you should end up with:  Drop the opacity of this layer down to 85 percent. Press 'V' on your keyboard (to get out the move tool) and press the up arrow on your keyboard 4 times. This will move the blur up slightly  Next go to "filter->blur->Gaussian blur" with a setting of 5:  Here's what you should have now:  |
|
| Step 5.) Next hold down the CTRL key and click on the lay with the blur circle in it:  This will make a selection of the circle again for us. goto select->modify->contract with a setting of 7 pixels   Create a new layer on top of everything, and make a white (#FFFFFF) to transparent gradient fill on the circle like so:   |
|
| Step 6.) Now make a selection like so with the elliptical marquee tool. This is done basically by making a HUGE oval selection that overlaps the entire canvas.  |
|
| Step 7.) Now go to "select->inverse" to invert the selection, and tap DELETE on your keyboard. Next go to "filter->blur->Gaussian Blur" with a setting of: 1.5  Drop the opacity of this layer down to 88 percent, this is what l've got so far:  |
|
| Step 8.) Now double click on the layer with the blue circle:  and apply these blending options, the color used is #08397E: Drop Shadow:  |
|
| Step 9.) Now the only thing left to do is to add your icon onto the orb. You can put letters, symbols or whatever. Here l put a triangle to symbolize a 'play' button. I also resized the image down to 50x50 for use as an icon:  [출처] 웹디황용 |
|
|||
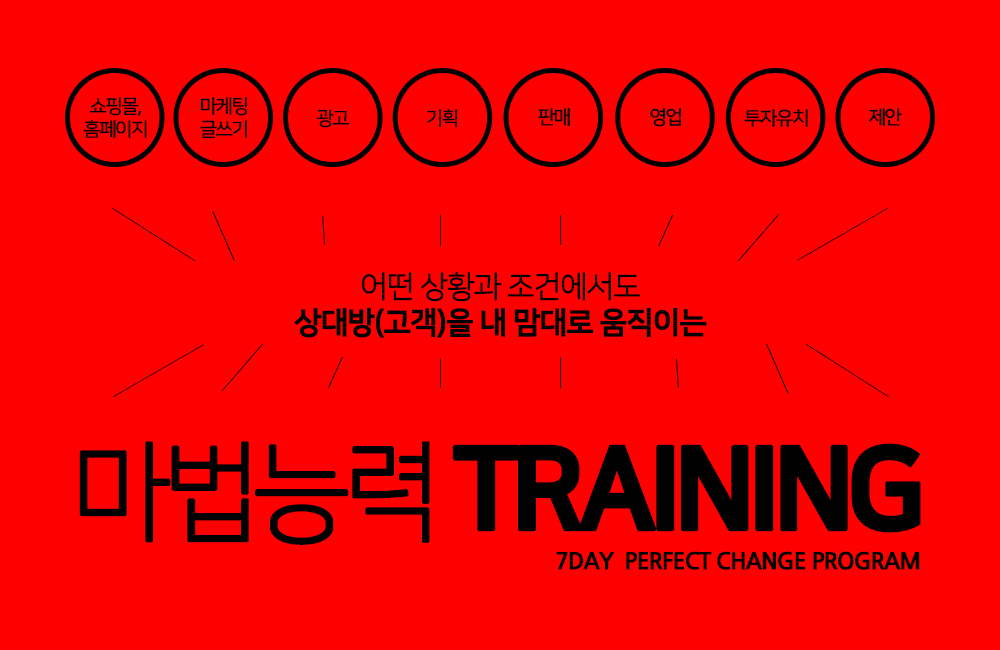
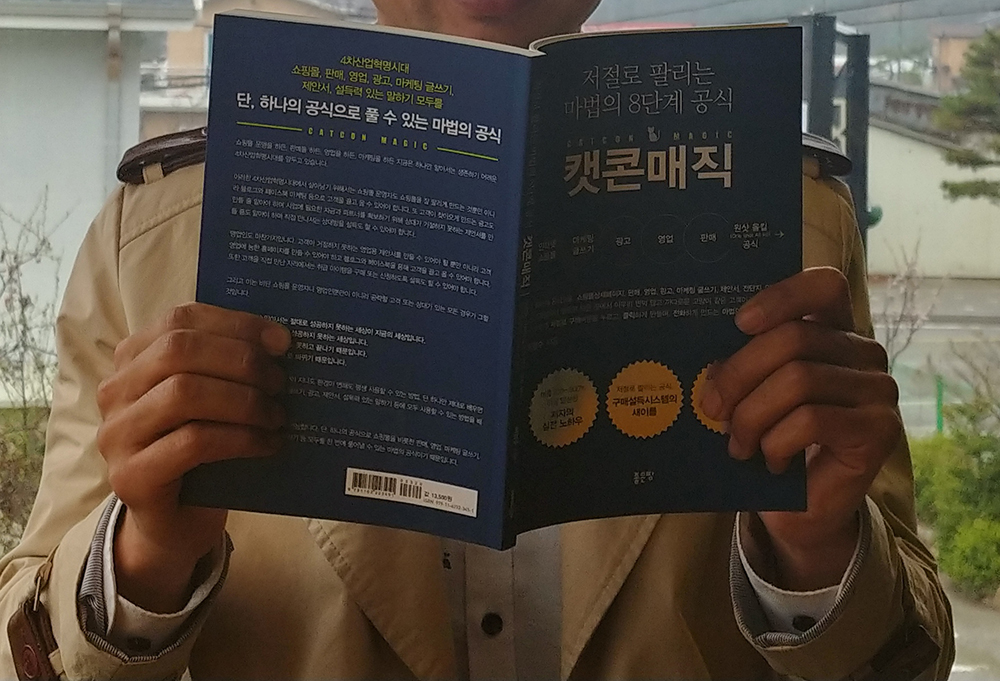
"쇼핑몰·홈페이지·오픈마켓
블로그·페이스북·이메일 등의 각종 마케팅 글쓰기, 각종 광고, 영업, 판매, 제안서, 전단지 반응율 3배×10배 이상 높이는 마법의 8단계 공식" |
|
| ☞자세히보기 |
|
|
|