Basic Dirty Texture


Make a 400x400 document. You can edit>fill the background layer to any colour you want, I suggest a moderately dark gray

Go to Filter > Render > Difference Clouds and something like below will form.


First Ctrl+Click on the layer you just created. Now Create a New Channel by Clicking on the "CHANNELS" tab, and clicking the create new layer button.

Repeat the Filter>Render>Difference Clouds, that was done in step2. the click back on your main layer.

Now Go Back to the first Layer you created, and go to Filter>Render>Lighting Effects and enter these settings.
*NOTE* that the Alpha one Was chosen.


Still on main layer, go to image>adject>hue&saturataon and choose a desired colour, I chose a yellowy colour, and here is what I came up with!

작성자 : 액션쟁이
등록날짜 : 2008.12.30 15:22
2,883
| ||||
 |
 |
|
|  |
New Document
Make a 400x400 document. You can edit>fill the background layer to any colour you want, I suggest a moderately dark gray
Apply Filter - Difference Clouds
Go to Filter > Render > Difference Clouds and something like below will form.
Create Channel
First Ctrl+Click on the layer you just created. Now Create a New Channel by Clicking on the "CHANNELS" tab, and clicking the create new layer button.
Apply Filter - Difference Clouds
Repeat the Filter>Render>Difference Clouds, that was done in step2. the click back on your main layer.
Apply Filter - Lighting Effects
Now Go Back to the first Layer you created, and go to Filter>Render>Lighting Effects and enter these settings.
*NOTE* that the Alpha one Was chosen.
Apply Hue & Saturation
Still on main layer, go to image>adject>hue&saturataon and choose a desired colour, I chose a yellowy colour, and here is what I came up with!
[출처] 웹디황용
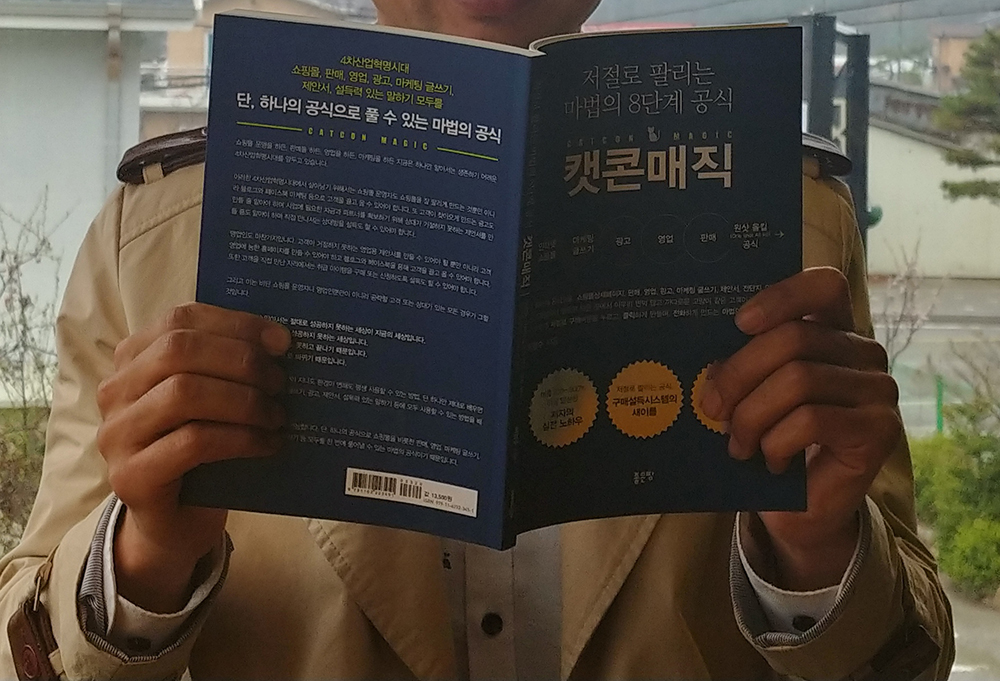
"쇼핑몰·홈페이지·오픈마켓
블로그·페이스북·이메일 등의 각종 마케팅 글쓰기, 각종 광고, 영업, 판매, 제안서, 전단지 반응율 3배×10배 이상 높이는 마법의 8단계 공식" |
|
| ☞자세히보기 |
|
|
|